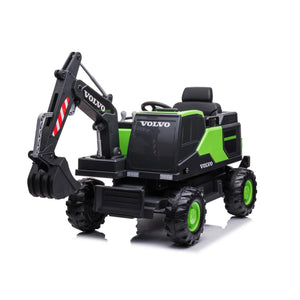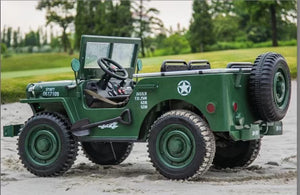
Power wheels provide an exciting and fun way for kids to engage in active play outdoors. But imagine the thrills that your children could experience if they could take rides after dark, too. Installing lights on their vehicles will give them the ability to do that. Discover below how to add lights to your kids’ power wheels so you can enhance their enjoyment, extend their play time into the evening, and make it a much safer experience for them.
Assemble the Tools and Supplies You Need
Before you embark on this fun DIY project, make sure you have all the necessary tools and supplies first. In addition to the lights themselves, you will need items like your drill, soldering iron, and wiring so you can make your corrections.
Make sure you purchase lights that not only look the way you want but also give you the most value for your investment. For example, you may want to buy LED lights because of their energy efficiency, longevity, and brightness. You also have many color options when it comes to lights and can pick the hue that your child likes best.
Remove the Headlight Covers
After gathering your supplies, your first step in adding lights to your kids’ power wheel should be to remove the headlight covers. After ensuring the toy is stable and secure, remove the screws holding the covers in place.
Make sure to keep the screws in a safe place after you do this. After all, you will need them to reattach the covers later and don’t want to find that you have misplaced them! When you finish with the screws, gently lift the covers off the headlights. It's advisable to clean any dust or dirt from the light installation area to ensure a secure installation.
Drill Holes for the Lights
When you have finished removing the headlight covers and cleaning the light area, you can start the process of creating your holes for the new lights. Mark the places where you want to install the lights, while keeping in mind that they should evenly distribute light after you have installed them and not obstruct the driver's view.
Use a drill with a bit size that corresponds to the diameter of your lights. Once you have finished drilling the holes, remove any residual plastic shavings or debris from the area. Afterward, you can insert your lights into the vehicle.
Create Connections with Your Wires
When you create connections to the bulbs with your wires, start this process by measuring and cutting the lengths of wire that you need to connect your lights to the power source. Remember, it's always better to have a bit of extra length than to come up short. That will save you time and the waste of perfectly good wire in the long run.
When you attach the wires, you will want to attach one to your battery and another to the switch you will be adding so that your kids can turn the lights on and off. To ensure this remains a safe process, take caution when connecting to the battery. Remember that positive connects to positive, while negative connects to negative, so that you avoid any accidents.
With the use of a soldering iron, you can ensure a stable, long-lasting bond. Afterward, you should double-check all your connections for safety.
Secure the Wires to the Power Wheel
Before you attach the wires, map out the path that they will take from the lights to the battery and switch. As you do this, be careful to ensure that you will avoid any areas that could pinch and damage the wires. Next, secure your wires to the power wheel.
With the help of electrical tape, you should be able to strap the wires to the car so that they avoid any damage. To ensure the power wheel maintains its clean, professional look, try to keep the wires hidden as much as possible, such as by running them along the inside edges of the power wheel's body.
Proper wire installation not only ensures a neat appearance but also prevents any potential tripping hazards. It also protects the wires themselves. Damaged wires usually result in malfunctioning lights.
Reattach the Covers and Test Your Headlights
After securing the wires, it's time to reattach the headlight covers. Place the covers back in their original positions and use the screws you set aside earlier to secure them. To prevent any damage, remember to screw them in firmly, but not too tightly.
Once the covers are securely in place, turn on the power wheel and test your new headlights. The lights should illuminate brightly, adding a fun and safe new aspect to your child's ride. If the lights don't turn on, double-check your connections and ensure you have properly charged the battery.
If you wish to install taillights on your child’s power wheel, you can follow a process similar to the one outlined above for the vehicle’s headlights. The only major difference is the location of the installation since you'll be working on the rear of the power wheel.
Specifically, you'll need to once again mark the spots for taillights, drill holes, create wire connections, secure the wires, and finally, attach the covers again. But remember to ensure that you space the lights evenly so they are properly balanced. Taillights are a beacon for anyone behind the vehicle, whether it’s another child driving a power wheel or an out-of-breath parent chasing their young driver.
With these vehicle enhancements, you will give your kids the ability to drive their power wheel after dusk while increasing their level of safety, since the taillights will alert others to the presence of the ride-on car. Elegant Electronix has an exciting inventory of products that offer children the joy of getting behind the wheel, including our kids’ ride-on UTVs. Your kids will enjoy the ability to ride their vehicles for hours on end, even as the sun begins to set. But the question is: Will you have the energy to keep up with them? Now get out there and have some fun!


