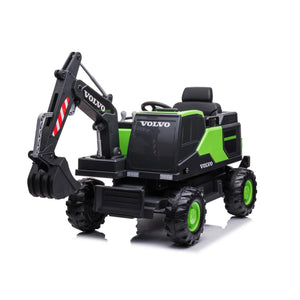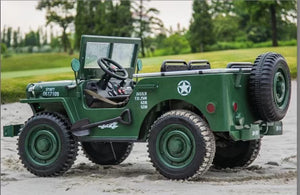
When you buy your child an electric ride-on car, you may find that they love driving it but are not too fond of the color of the vehicle itself. Fortunately, there is something that you can do to make it more fun for your little one. Discover the 10 steps for painting your kids’ power wheels.
Choose Your Paint
After you talk to your child about what colors they would prefer to see on their ride-on car, you can go to a hardware store and buy spray paint. When choosing products, try to remember that you will have to paint fewer coats on the car if you use heavy paint. However, you must paint more when you use lighter paints.
Clean Off the Car
Before you start cleaning your child’s car, take out the battery first. Afterward, you can wash the car off with soap and water to eliminate any dirt on the outside. Use this opportunity to note areas on the power wheel that you will need to sand off later.
If you find that your water cannot remove certain marks from the car, try using a grease and wax remover. These tools will help eliminate that excess grime so that you can do a much more thorough job of cleaning your vehicle.
Take Off the Old Paint
The next step in this process is to take off the old paint on the outside of your child’s car. You can do this with the help of sandpaper, a wire brush, or even a sanding machine.
As you remove the paint, try to avoid scratching the surface. You don’t want to leave any scratches that will still be visible after you paint it. You should also take the time to remove any stickers from the outside of the vehicle.
Remember that you must protect yourself during this process. Ensure that you wear protective gear on your hands and face so that you do not inhale any paint dust or get it in your eyes.
Wash the Car Again
Although you washed the power wheel previously, it is a good idea to do it again after you remove the paint. This measure will help you remove any remaining grime, debris, or loose paint and make the vehicle even more ready for the painting process.
Once you finish the last wash, give the power wheel a chance to dry off. You may need to get a rag and wipe down some areas underneath that won’t dry quickly on their own.
Pick Your Painting Area
It is important to pick a safe area where you will re-paint the ride-on car. Try to find a place with enough air circulation to clear away residual paint, fumes, and dust. You may even choose to paint it outside.
Remember to set down newspapers no matter what location you choose so that you make less of a mess on the ground or floor. You should also get protective items to wear as you paint and apply the primer, such as a mask, gloves, and even goggles. As with the paint dust, you don’t want to inhale the paint or have the volatile organic compounds enter your body through your eyes or your skin.
Detach the Top Part
Now that you have your workspace properly set up, you can start disassembling the ride-on car. You must take off the top part and put masking tape over any parts of the car that you prefer not to paint over.
As you disassemble it, make sure that you keep track of the screws that you take out and what parts of the car each fastener came from. If you lose any screws or forget where they belong, putting the car back together later on will become much harder. Plus, trying to figure out the assembly order will add a lot of unnecessary work to your process.
Add the Primer
Now that we have finally reached the point of painting your child’s power wheel, you can begin by adding the primer to the vehicle. Although you may want to skip this stage and get to the point where you apply the actual paint, it is not advisable.
Using the primer will help you ensure that the paints you use later will adhere to the vehicle, which will make your child much happier with the final result!
Start Painting
After you finish using the primer, you can start using the spray paint on the power wheel’s parts. As you do, you must ensure your work looks even. Don’t move too fast or too leisurely as you paint.
You should also avoid holding the paint can too close to the vehicle. Instead, ensure that you are several inches away. After you finish, give the car another chance to dry off.
Paint It Again
When you feel satisfied that the ride-on car is dry enough, you must paint it again. You will likely have to add more coats of paint before it finally looks how you want it to.
In the end, you may have to paint it four times or more before you finally finish. However, between each coat, ensure that you are giving it an adequate amount of time to dry. Once the final coat is dry, remove any tape you used to mask areas or parts.
Put the Car Back Together
When you are finally satisfied with the car’s appearance, you can put it back together. As you do, remember to put the battery back and return the screws that you removed to their original places.
When you completely reassemble it, bring your child over to have a look. If they feel satisfied with the car’s new look, let them drive it. They can start having fun in the vehicle that suits their style!
These steps will allow you to better customize your child’s power wheel to their satisfaction. Contact Elegant Electronix today if you are looking for ride-on cars with a touch screen to entertain your child. Our vehicles feature educational and entertaining programs that will delight them as they go for a ride.


